

Whether you are a simple scrapper, a pocket scrapper or a decorative scrapper, the beautiful Natural Elegance Collection will help you create gorgeous layouts that effortlessly highlight your wedding photos! I used the lovely papers, sticker, embellishments and slide-in cards from the collection with my own wedding photos to create an almost instant “naked” page on the beloved Black Scrapbook Pages, a slide-in page using the versatile Multi-Pocket Pages and a more traditional layout where I got to have fun with layering decorative papers & borders and making embellishments clusters.
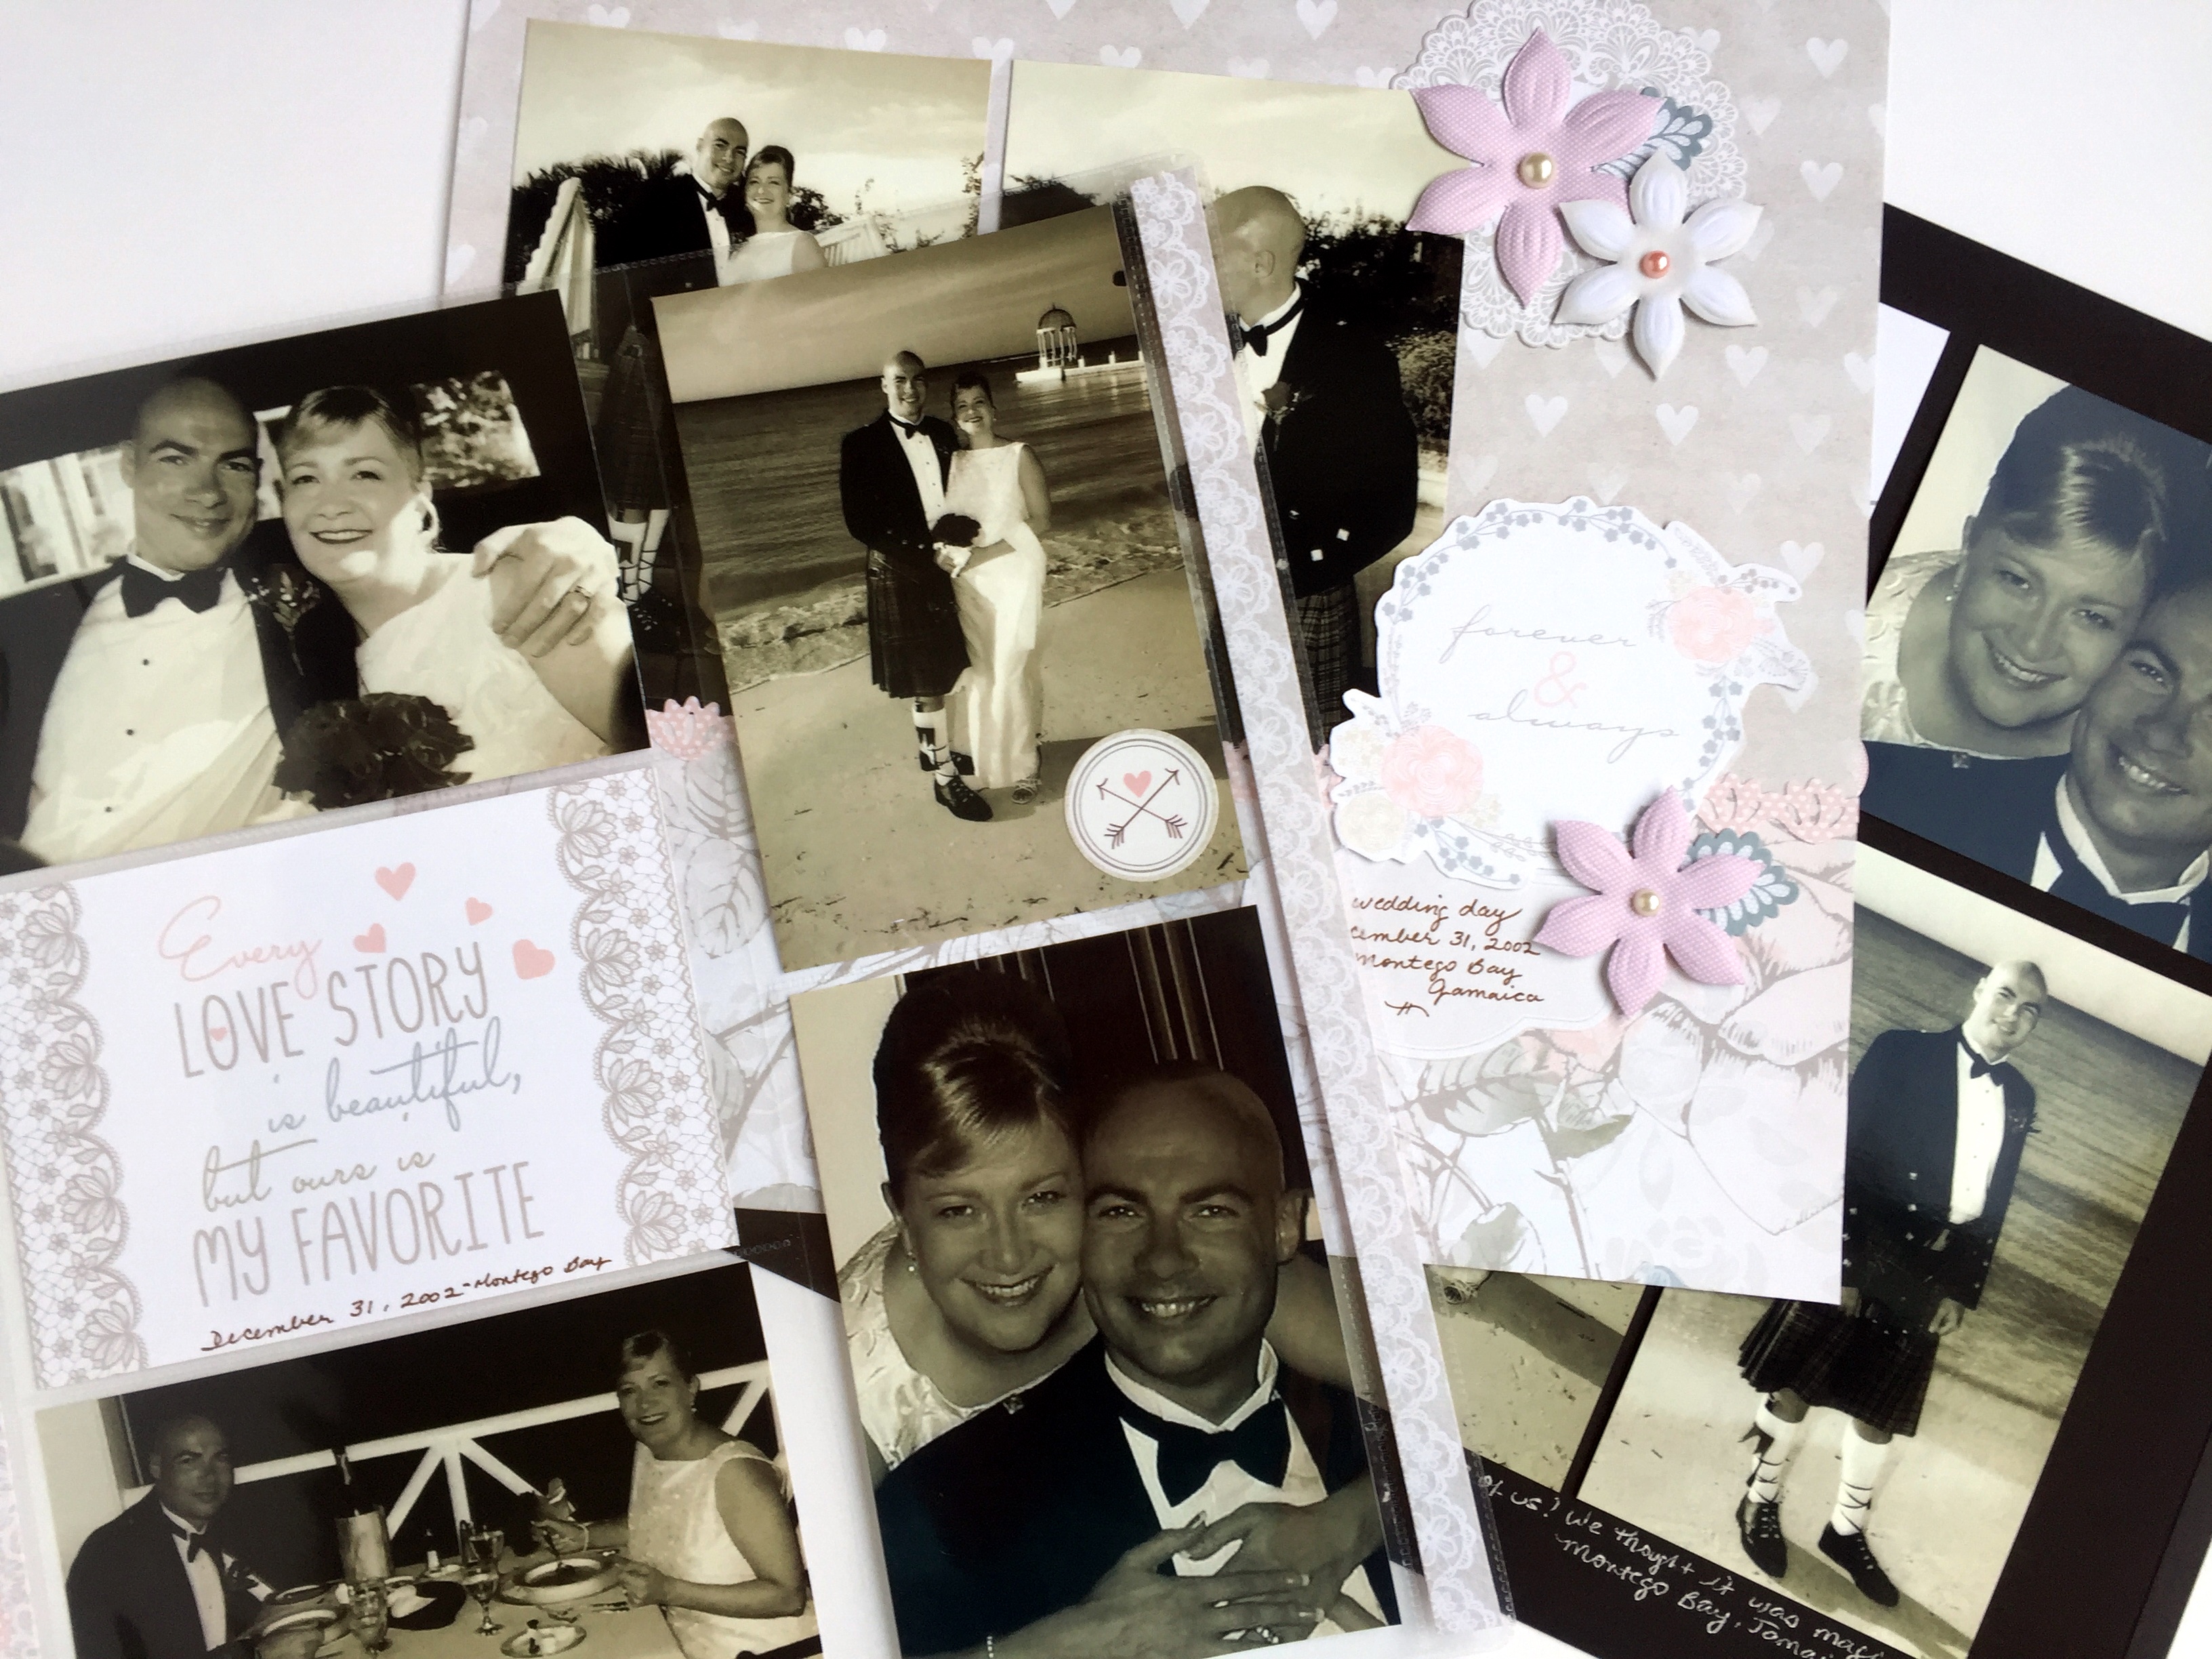
First up, the naked page! Now before you start thinking that scrapbooking is a somewhat risque hobby, let me reassure you that a naked page is really just a page with little or no decorative embellishment! Naked pages really let your photos take centre stage and are so quick to make. I’m thrilled that Creative Memories found a way to bring back our favorite Black Scrapbook Pages – they are so versatile and act as a great backdrop to showcase your photos. (They actually remind me of the old-fashioned photo albums that my grandma had – she would add her photos onto the black paper page with photo corners and then write the all the details below the photo in her careful and beautiful handwriting.)

I used my Personal Trimmer to trim three vertical 4 x 6 photos to measure 3.5 x 6, then adhered them in a row on the bottom half of the page. Above them I added one 4 x 6 photo trimmed down to measure 4 x 4, and a journaling card from the slide-in pack to use as the title. I decided to add one heart sticker…just because I couldn’t resist the color and lacy details! I added simple journaling below the photos with the Silver Metallic Pen. This layout took only 10 minutes to complete!
Next I created an easy pocket page. CM’s Multi-Pocket Pages are my go-to when I want to add lots of photos to my album, fast! You can just slide your photos into the vertical or horizontal pockets, add Slide-In Cards of your choosing, jot a few notes of journaling and call it done. But you can also make the pages slightly more decorative by adding a strip of paper down each side to frame your page.

I started by slipping four photos and a journaling card with a cute quote into the slots. Then I used my 12″ Straight Trimmer to cut two strips from the piece of Natural Elegance Paper that has lots of lacy borders printed on it. One strip measured 3/4″ and the other was 1/2″. I layered a border punched with the incredible Lace Scallop Border Maker Cartridge on top of the larger strip for an extra layer of subtle detail and color. Using an exacto knife I carefully cut a small slit along the top edge of the protector at each end so I could insert my strips down into the newly created “pockets”. I wrote the date and place of our wedding onto the journaling card with the Brown Dual-Tip Pen and added one final sticker. This layout only took 15 minutes (and most of that was because I chose to create the extra border strips and cut the slits into the Multi-Pocket Page!)
Finally I had lots of fun making my decorative page. I love the process of selecting, trimming and assembling layouts using beautiful supplies. I’m so glad that Creative Memories offers coordinated collections of products that give us everything we need to create this type of layout!

I used the full sheet of the decorative paper with the hearts on it as the base for my layout. I cut a 4″ strip from the floral paper and adhered it across the bottom of the page, then added two 4 x 6 photos along the edge where the two papers meet. I punched another border with the Lace Scallop Border Maker Cartridge and layered that over top of the papers and photos. I created two embellishment clusters, one slightly behind the upper edge of the photos, and one layered on top of the lower edge of the photos and papers. I used several die-cuts and pearl gems from the Natural Elegance Embellishments pack, layering and popping a couple of flowers off the page with a Foam Square for some dimension. The “forever and always” sentiment I used as the title was cut from one of the Slide-In Cards with the awesome All-Purpose Scissors and the journaling shape below it was trimmed from the piece of decorative paper that has all the journaling boxes and shapes pre-printed on it. I find that layering elements and overlapping them with photos and papers really provides movement and interest to my layouts. Even with these more detailed embellishment clusters, this page still only took about 30 minutes to create!

I love that Creative Memories offers memory-keepers so many ways to preserve the precious stories of our lives! What type of scrapbooker are you? Do you like quick, simple pages, pocket pages or do you to go all out and create gorgeous detailed layouts? We’d love to hear your preferences!
Happy scrapping!
